This tutorial shows how to upload Word or PDF documents from a cloud server such as OneDrive, UA Box, or Google Drive and then create buttons in Adobe Portfolio that will allow viewers to download them via a link.
Instructions
Start by creating a page in your eportfolio.
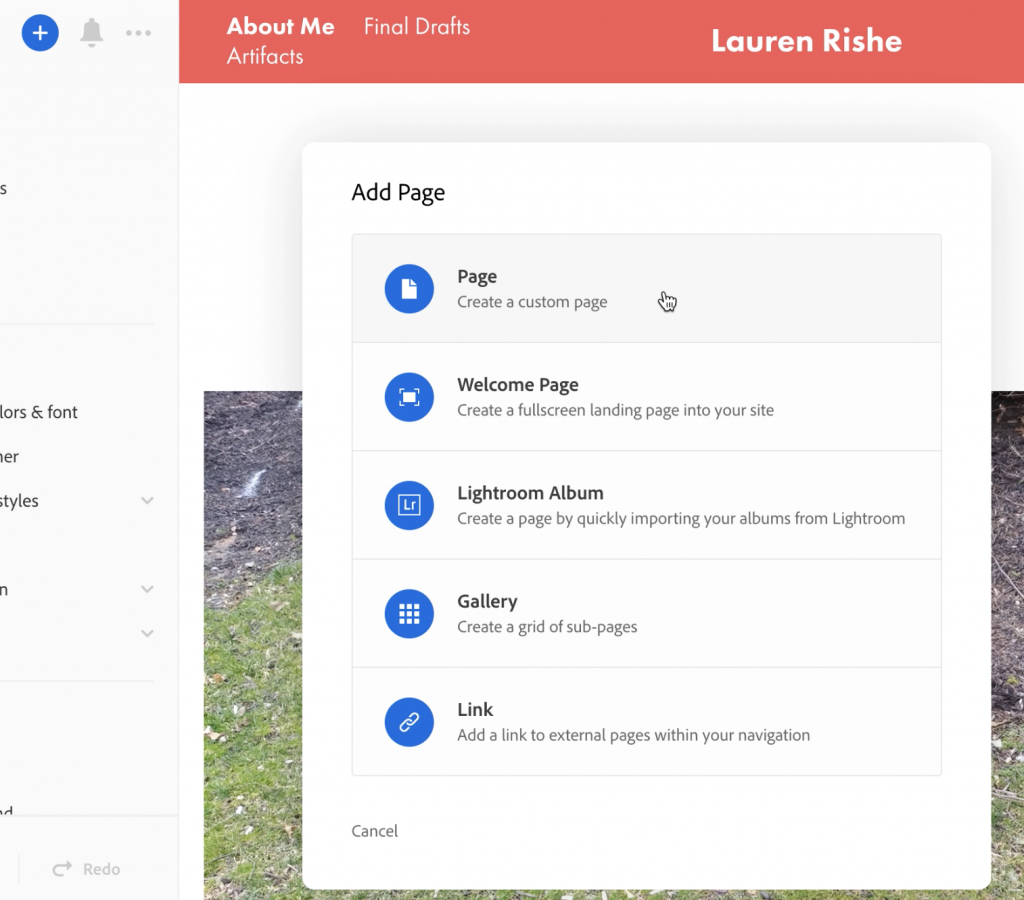
Click the blue + (plus) button in the upper left corner of the screen.
Choose Page from the Add Page options.
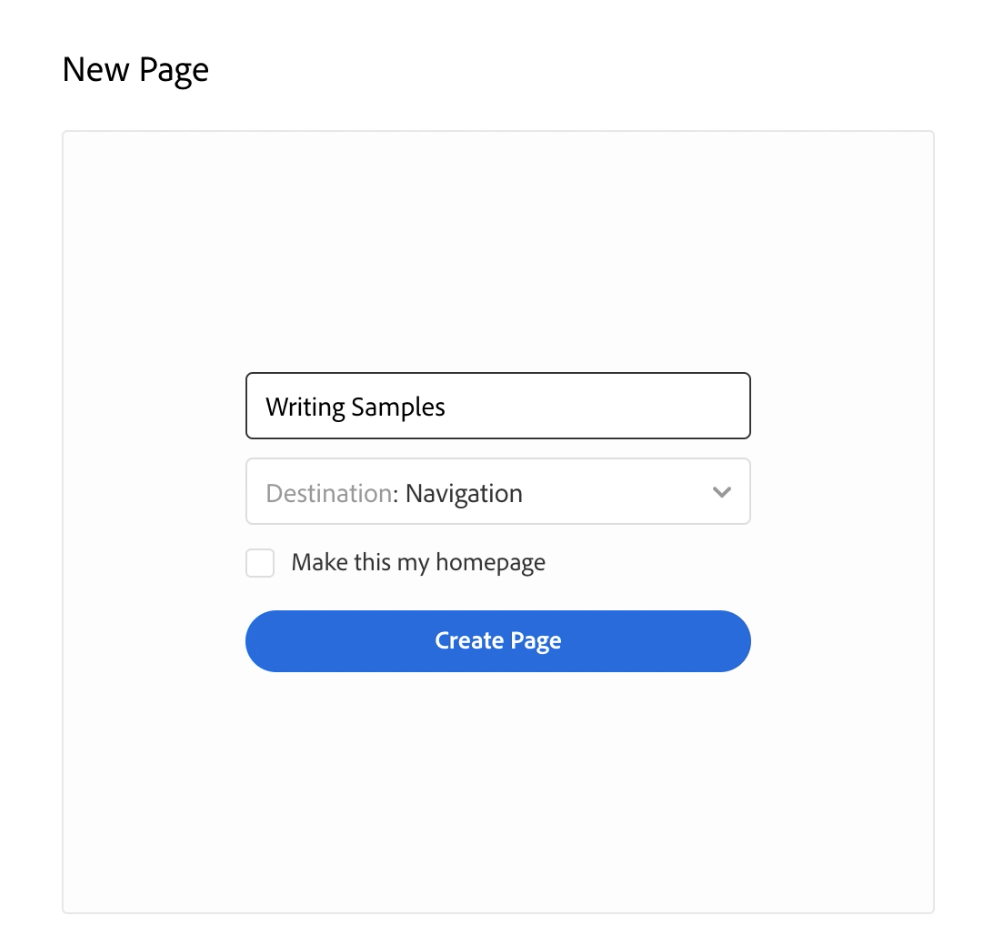
Enter a name for your page and select Navigation from the Destination drop down if it’s not already selected.
Click the blue Create Page button.
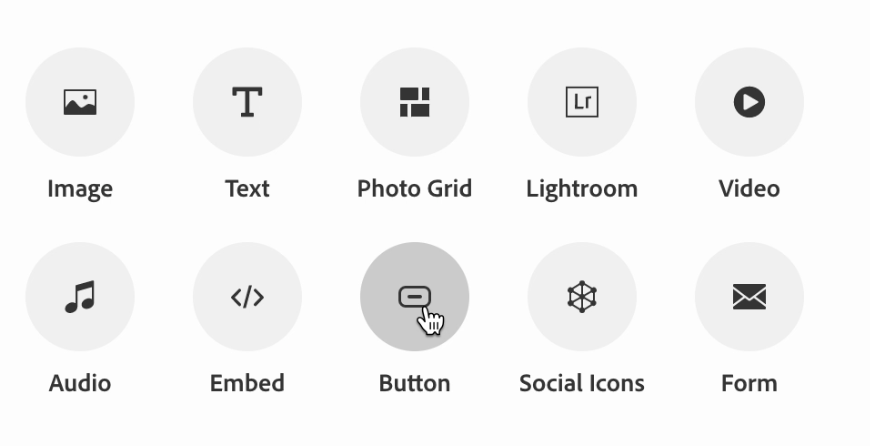
Your new page will be created and you will see several icons at the bottom of the page that will allow you to add elements to your page.
Click the Button icon.
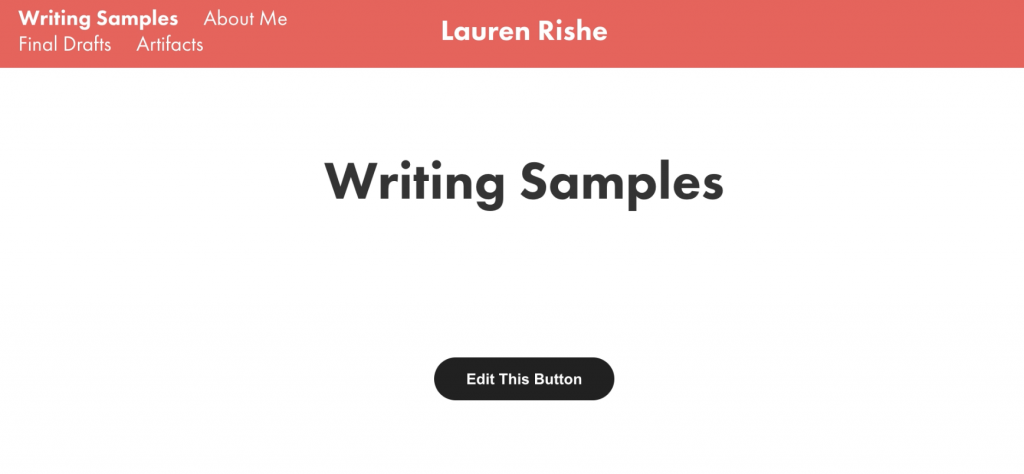
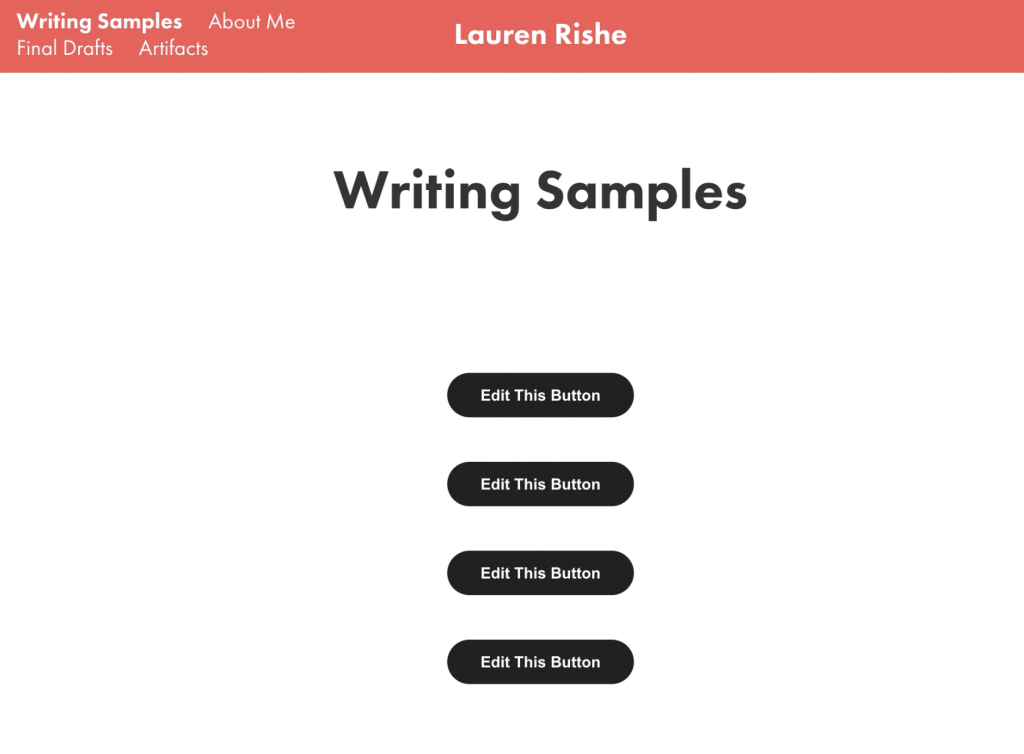
A button will be added to your page.
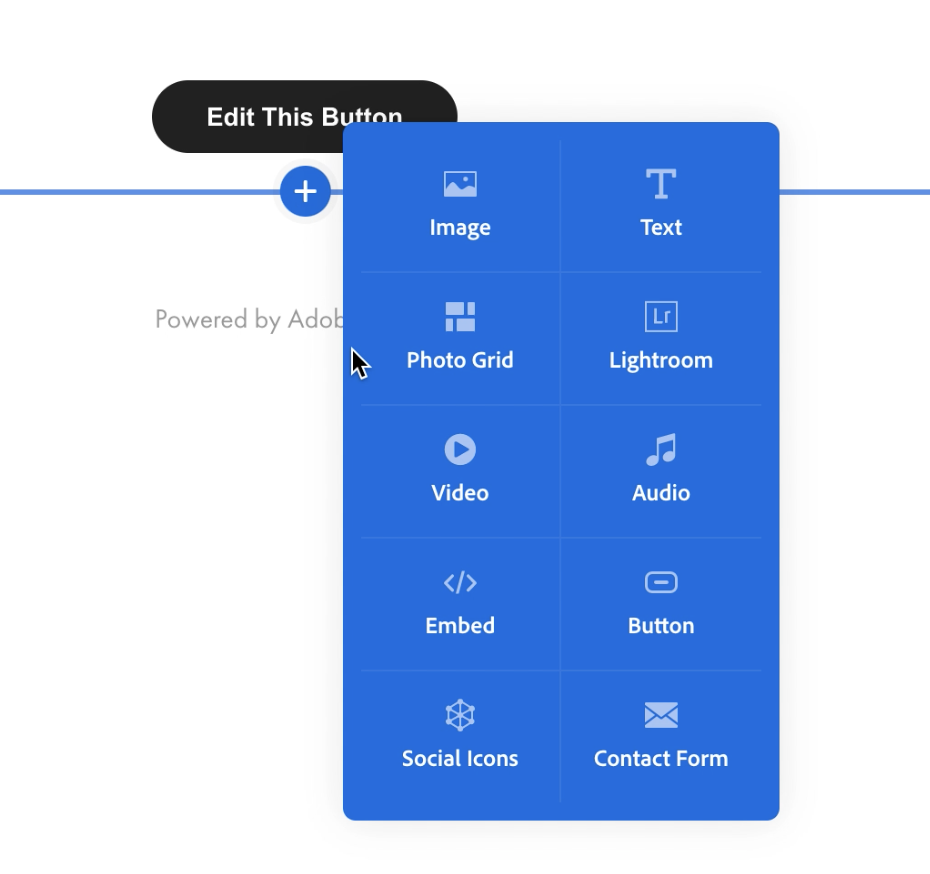
To make additional buttons, hover your cursor slightly below the existing button. A blue + (plus) button will appear.
Click the + button and select Button from the pop-out.
Continue this process for as many buttons as you need.
Linking Your Buttons to Your Documents
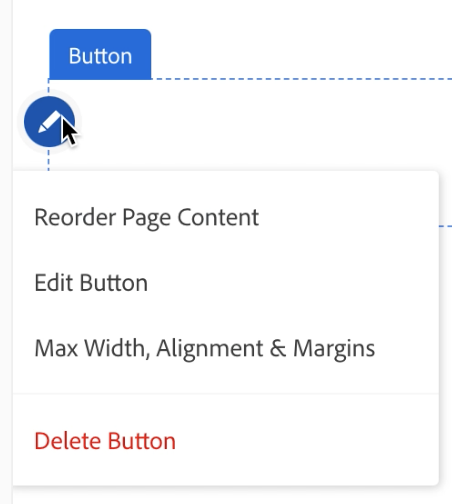
Hover your cursor near the button you want to use and you will see the blue pen icon to the left of the button.
Click the icon to see the button edit options.
Select Edit Button to get to the button’s settings.
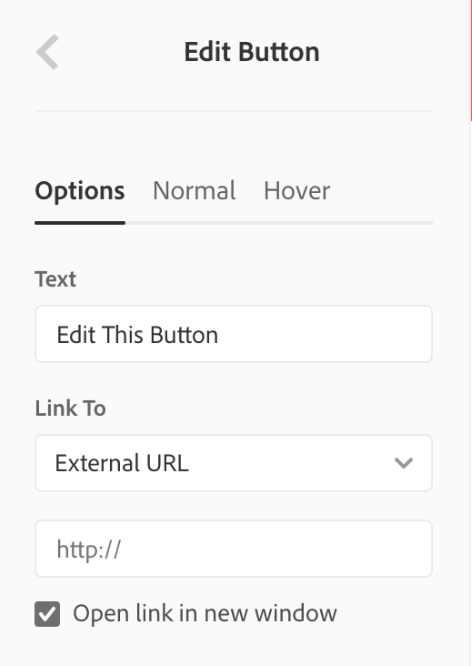
Change the text that displays on the button by changing the text field that’s currently filled in with “Edit This Button.”
Copy and paste the Share URL to your document from your prefered cloud storage location, and paste it into the Link To field that displays “http://.” Your button will update automatically.
